
A website is the best way to make a great first impression with your potential customers. It allows you to be more visible online, market your products and services, and reach a wider audience.
Shopify is a powerful eCommerce platform with everything you need to create an online store, from products to marketing and payment solutions. It’s a great place to sell your products at any scale, both online and offline.
When considering payment integration solutions, it’s essential to weigh the benefits of platforms like Shopify and WordPress, determining which best suits the unique needs of your website.
If you are looking to create an e-commerce business, then using Shopify is the best option. Since it allows stores to accept payments through all major credit cards, cash on delivery, and funds transfer in many ways, makes it flexible. It also saves a lot of time and money, as it requires no initial investment and only has one simple fee at the beginning of your store.
This blog will look into Shopify access and payment gateway integration in Shopify, exploring various merchant setups.
Table of Contents
ToggleProcess
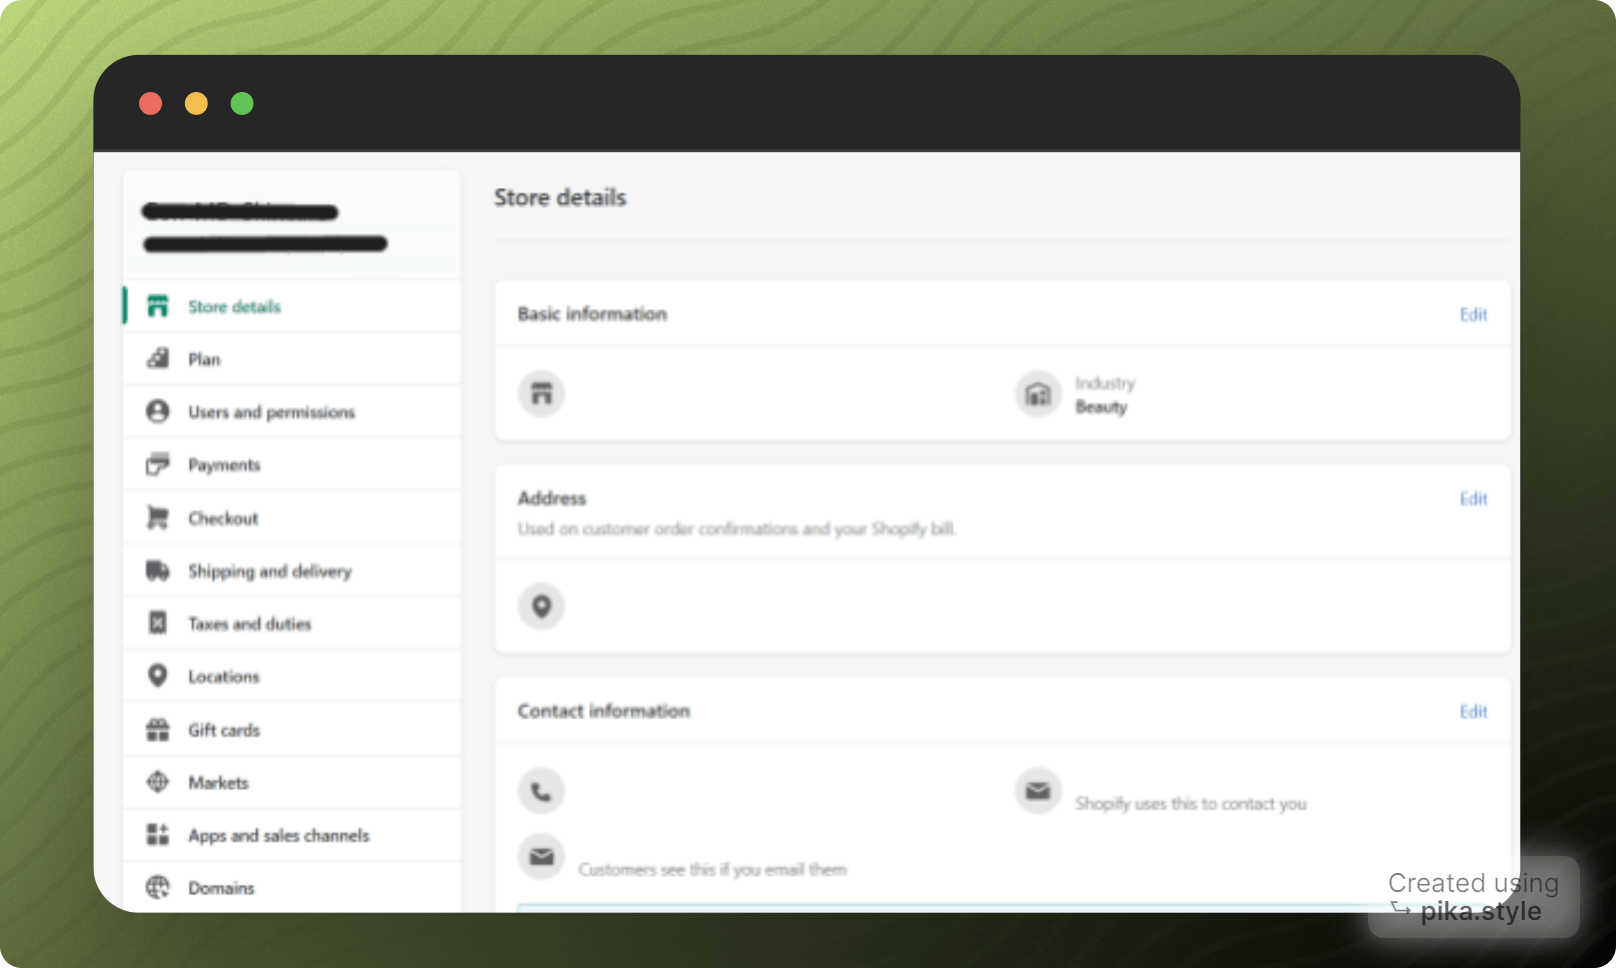
Step 1: You may need to go to settings to get started with payment gateway integration. Which is right at the bottom of the Shopify sidebar.
Step 2: Once you click on settings, a popup will come over, and you can select the payments option from there
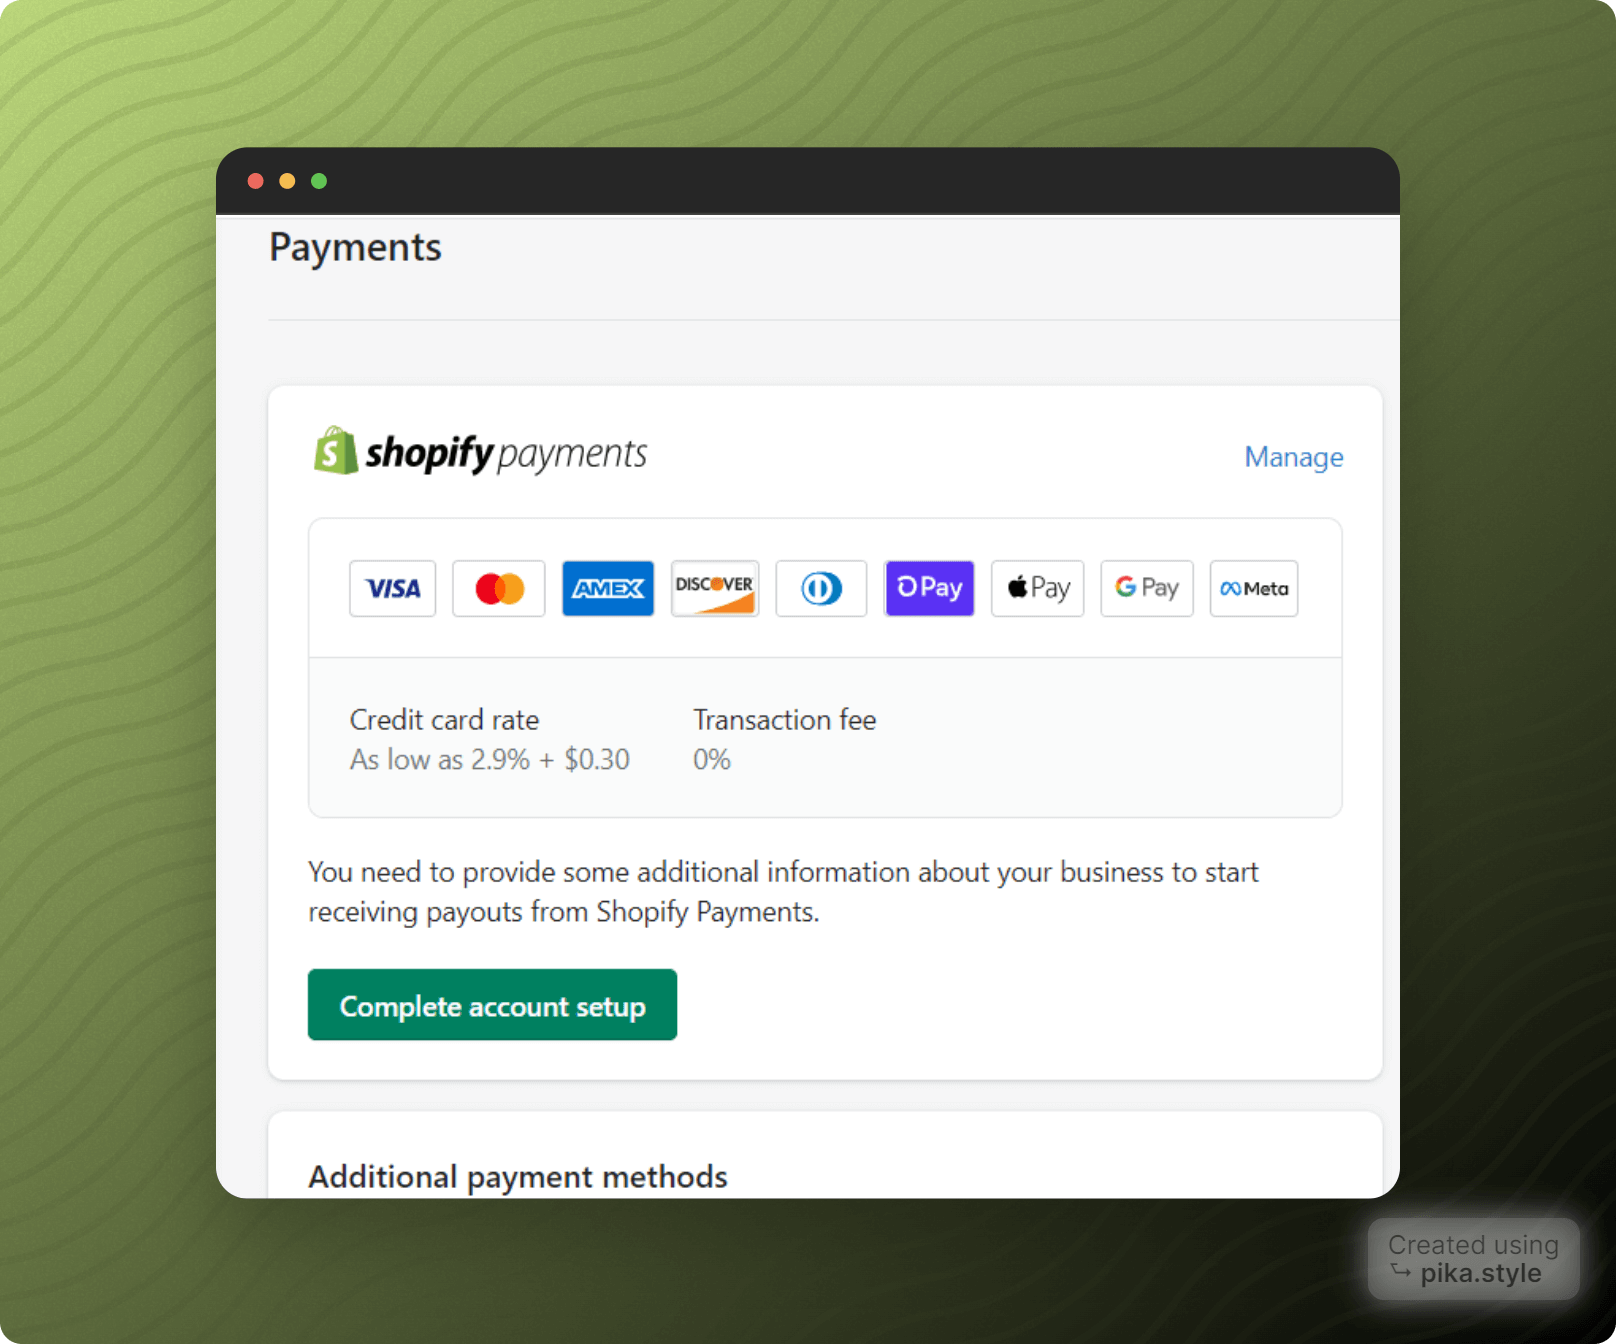
Step 3: In the payments tab, you will find an option to select your merchants depending on the commission rates you can select:
- Shopify payments
- Paypal
- Stripe
- Amazon Pay
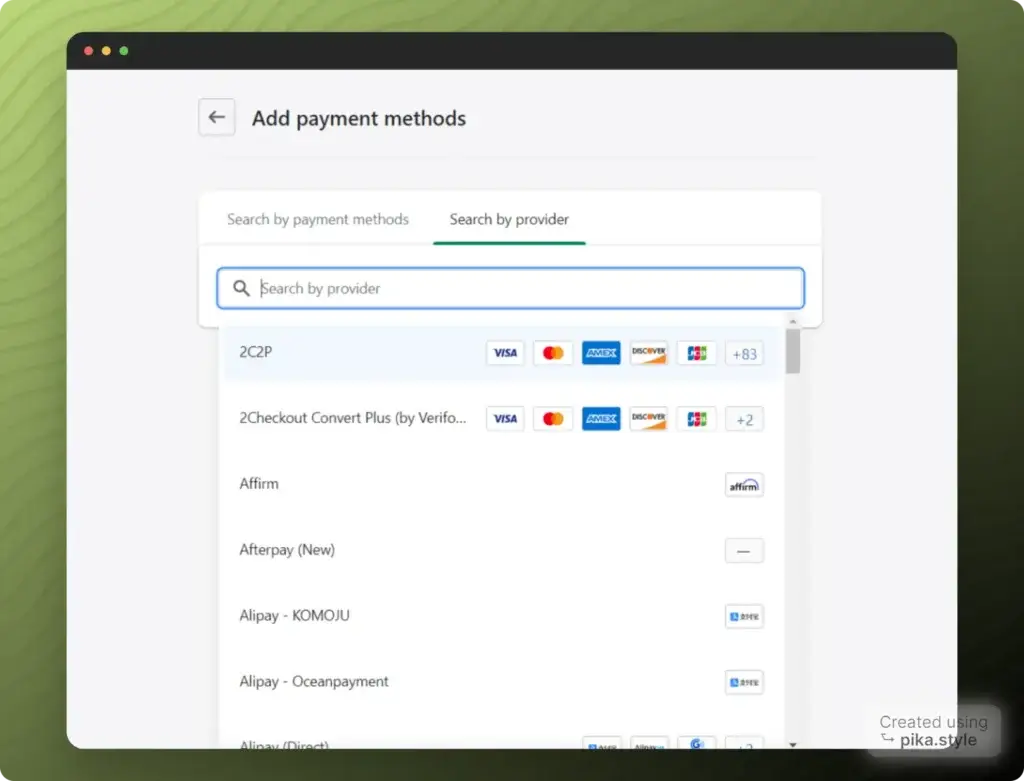
And once you click on the add payment method, you will find many options like card type, or you can also search by the provider.
Note: You may need to set up your payment gateway first; only then you can integrate it with the website. Make sure your bank account is also integrated with the payment getaways.
Apart from that, if you have any doubts about how you will get paid or how much would be the charges for the same will be explained by the merchant you select. You can set up a developer’s account for PayPal and stripe if you are willing to opt-in for the same.
Please check the following details for setting up a PayPal account and sending developer access.
How to open a PayPal account?
How to connect PayPal to Shopify?
https://help.shopify.com/en/manual/payments/paypal/set-up-paypal
How to create a Stripe account?
Stripe is the best way to accept payments online. It’s perfect for e-commerce sites but can be used in any situation where you need a reliable and secure payment processor. Whether you’re an online store, a software service, or another business, it helps you start, run and grow your business.
Steps to create a Stripe account
Step 1: Create an Account
- Go to the Stripe website and click the start now tab
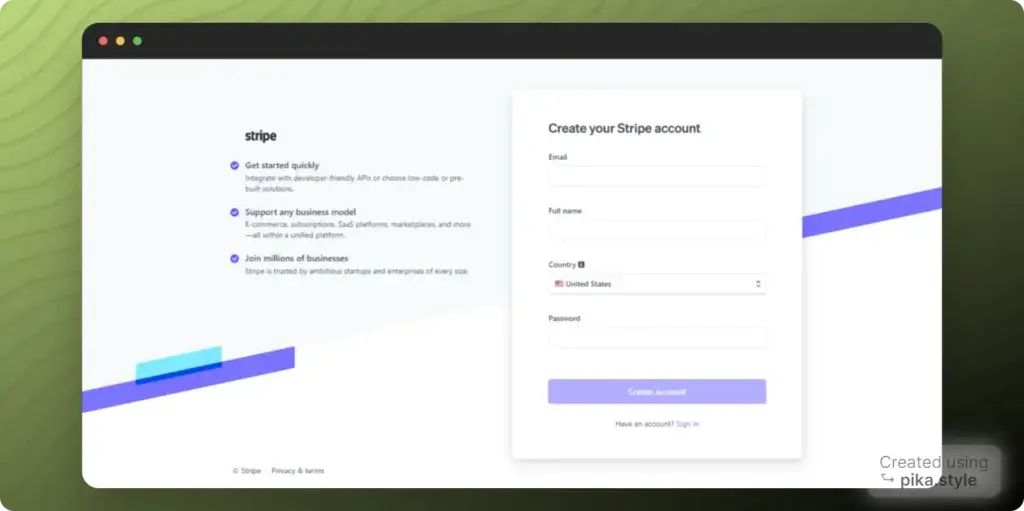
- After clicking the start now tab, you will reach https://dashboard.stripe.com/register for registration or signup
- Fill in your details like Name, Email Id, country, and password, and click signup
If you are creating the account for the first time, set up an admin user email address specific to your company financials. Ensure all information entered is accurate and should only be used by the person dealing with company financials.
Step 2: Verification Requirements
Verification requirements for connected accounts vary by account, depending on the following:
- Country
- Capabilities
- Business type (for example, individual, company)
- Business structure (for example, public corporation, private partnership)
- The service agreement type between Stripe and the connected account
- The risk level
For additional information on Verification Requirements, you can visit the https://stripe.com/docs/connect/identity-verification page.
You can also log in with your social media accounts, such as Facebook, LinkedIn, or Google.
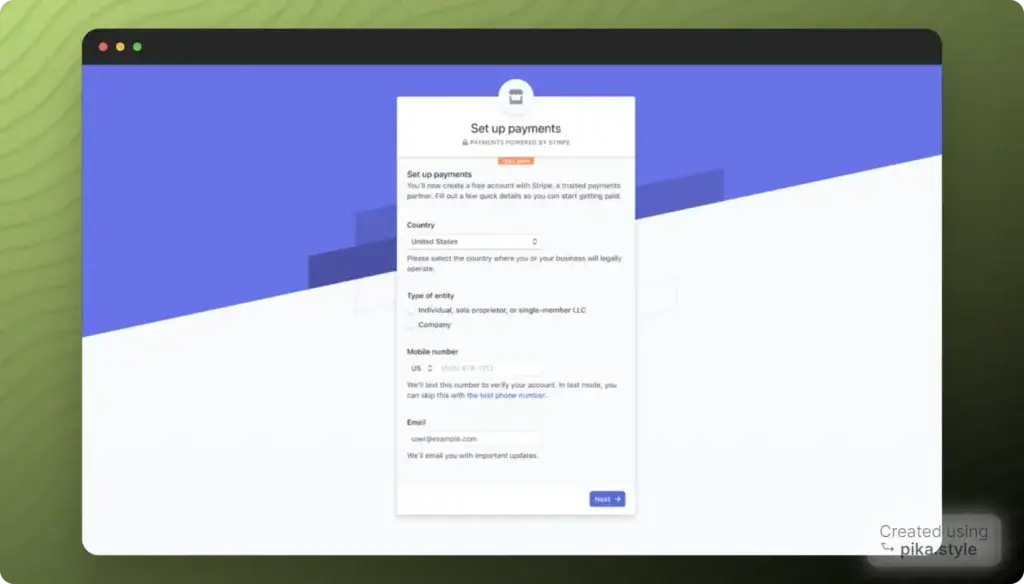
Figure 1 Pic credit Stripe.com
Step 3: Bank Details
- To request a Stripe account, you must have your Routing number and Account number readily available.
- Fill out the details, choose your plan and click on Activate Account.
- Once you have an approved Stripe account, you can start processing transactions.
Step 4: Get the Keys (Optional Not needed in case of Shopify)
- Go to Dashboard >Developers > API Keys.
- Or visit the https://dashboard.stripe.com/account/apikeys page.
- Your developer needs to be able to test that your website is connecting to the Stripe account, and the only way to do that is with a Test Key.
- Your web developer will need the Publishable key and the Secret key. You can find both of those by clicking on Reveal test Key Token.
- Copy/paste or type the keys.
For more information please visit https://support.stripe.com/questions/getting-started-with-stripe-create-or-connect-an-account
How to connect Stripe with Shopify?
Step 1: Check eligibility
- Log in to your Shopify backend
- Under setting, select Payment providers
- Now click on ‘complete your payment setup.
- Fill in your business details, product details, personal details, and banking information.
Step 2: Log in to the Shopify account
Go to your Shopify account, then click on Settings at the bottom left of the screen.
Then click on payment provider in your Shopify dashboard.
Step 3: Set up the Stripe for Shopify
Go to the payment provider, where you can see the ‘Third-party provider’ dialogue box.
Then select the third-party provider option.
Step 4: Select stripe as your provider
In the third-party payment provider, select Stripe from the drop-down menu.
Click on the ‘stripe button’ to keep continuing.
You will get a message on your screen about Shopify would like you to start accepting payment on Stripe
Step 5: Sign in to the stripe account by adding credentials.
Step 6: Activate Stripe by clicking on activate.
For more information visit https://appwrk.com/how-to-integrate-stripe-with-shopify
How to open a PayPal account?
PayPal is a leading global payment services provider and a widely trusted, safe, and secure way to pay online from your bank account to anyone worldwide.
Steps to create a PayPal account:
Step 1: Create an account
Go to PayPal’s website and click Sign Up in the top-right corner.
Step 2: Choose the account type.
Select the account type you want to create
- Personal Account or
- Business Account and click Next.
Step 3: Provide your basic detail
Provide your basic information like
- Your home country
- Email address,
- A password with which to protect your account
- A copy of the password that you just entered, and then click continue
Step 4: Provide your other personal information
- Name
- Date of birth
- Your occupation
- Address and
- Phone number
Step 5: Add your credit card details in PayPal, which is optional.
Step 6: Add your bank account to PayPal, which is also an option.
Step 7: Verify your email address.
You can verify your email address by clicking the link in the email sent to you by PayPal.
How to Verify a PayPal Account:
- Go to the PayPal website and log into your account.
- Then click on the Wallet tab.
- Select the bank account or card you want to verify.
- Check your bank account or credit card activity for a deposit.
- You can also use the automated system to link your bank account.
- Finally, confirm your account payment method by entering the 4-digit code on your card (for cards) or two bank deposit amounts (for banks).
How to connect PayPal to Shopify?
Once you have created your PayPal account, you will see how to integrate it with Shopify. When you set up your Shopify store, Shopify creates a PayPal Express Checkout account using the email address you use to sign into your store.
Steps to connect PayPal and Shopify
1. We can connect from your Shopify admin, go to Settings > Payments.
2. In the Supported payment methods section, find PayPal.
3. Click Manage.
4. Click Deactivate.
5. Click Deactivate again to confirm.
6. Click Activate.
7. Enter the email address for your PayPal account, and then click Next
8. Enter the password for your PayPal account, and then click login
9. On the PayPal permissions page, click I Give Permission.
10. On the PayPal confirmation page, click Go back to Shopify.
11. Make a test transaction to ensure everything is set up properly.
Wrapping up:
In this blog, you learned about the top advantages of Shopify and the seamless process of Shopify payments integration with your Stripe and PayPal accounts.


